
All you need to know about Sitecore Commerce Service APIs

Sitecore Commerce 8.2.1 is the first step in building a next generation e-commerce platform. I’ve already explored pricing and promotions. Underpinning all of this functionality is Sitecore’s trump card- the Commerce Engine, which is based on a microservices architecture and is built entirely in .NET Core.
The Commerce Engine has been designed to allow external entities to seamlessly interact with it through an OData RESTful web service.
Service APIs
There are three main APIs based on the type of role they perform:
- CommerceAuthoring API is focused on the business user experience such as merchandising, creating and updating content.
- CommerceShops API provides functionality for the web storefront.
- CommerceOps API is geared towards DevOps tasks such as managing environments and policies.
Go ahead and run the following to retrieve Sitecore Commerce metadata.
http://{{ServiceHost}}/{{ShopsApi}}/$metadata
e.g. http://localhost:5000/api/$metadata
Postman collection
To make your life easy, the Sitecore Commerce SDK comes with a Postman collection which contains an extensive list of calls that can be made to the APIs. This is extremely valuable during development and debugging. It allows you to quickly retrieve information as well as perform any actions required, such as adding items to cart, creating orders, retrieving cart etc. I’ll leave it to you to explore the API in detail.
Here’s an overview of the key elements:
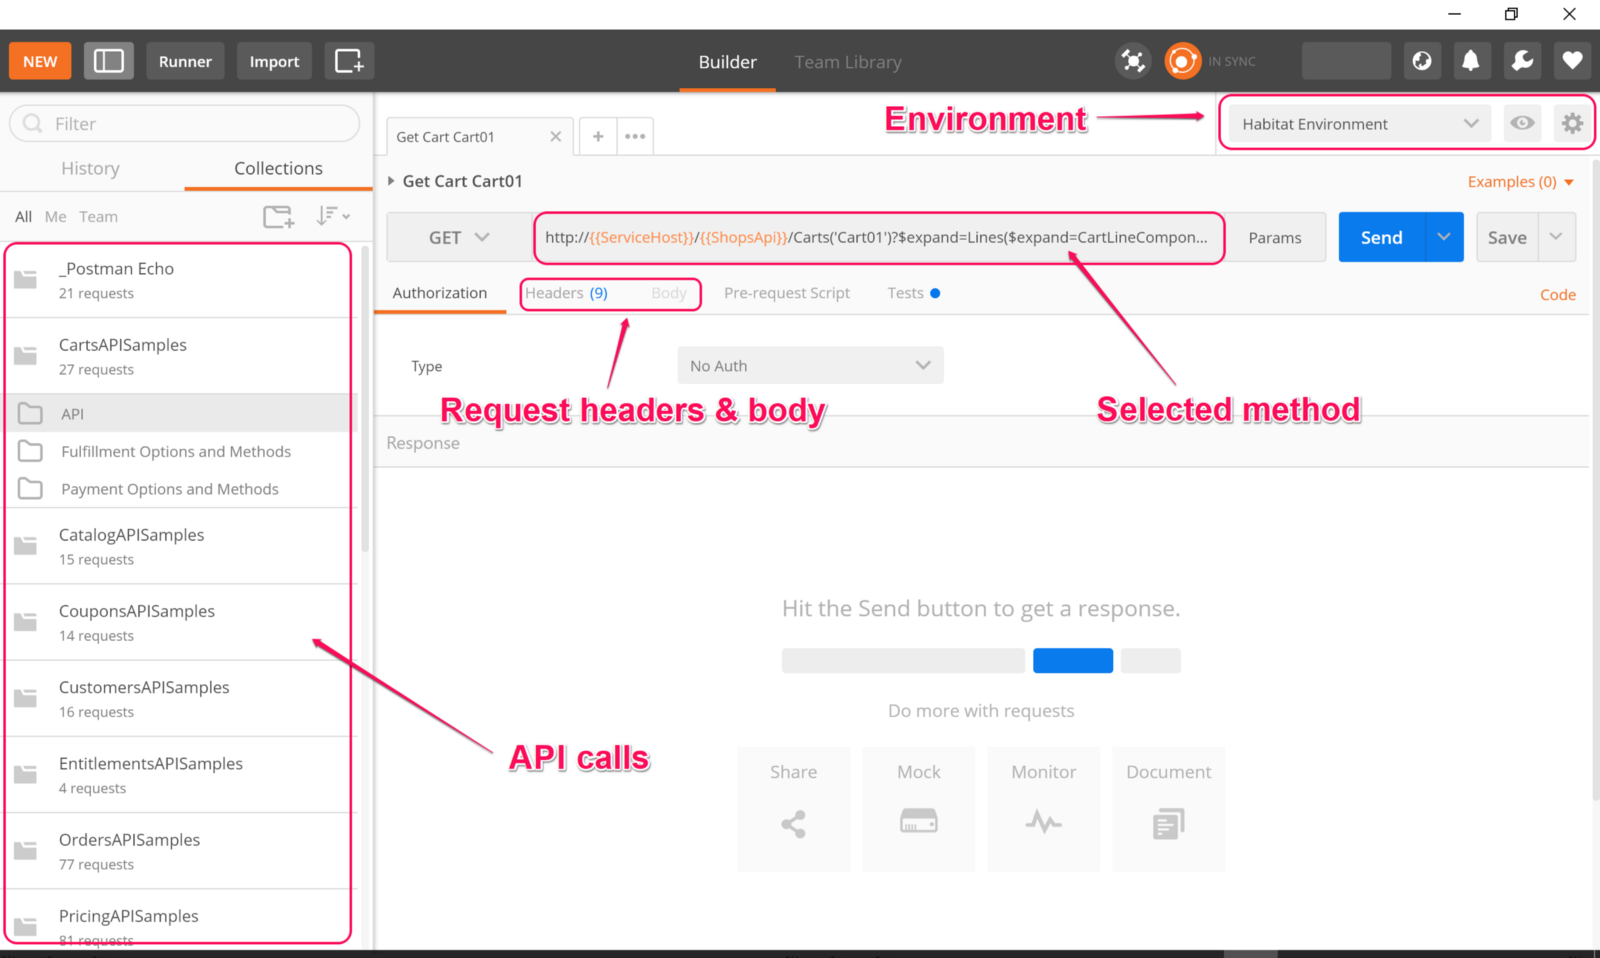
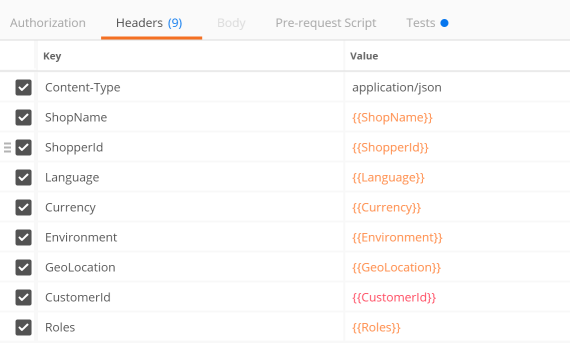
In order to establish the context of the call, you need to set the headers on your requests. You can either pull in values from environment variables, which I’ll show you shortly, or set them directly if specific to a call.
Set up Postman environment
Once you have retrieved and loaded the collection into Postman, you need to set up your environment variables.
- Click on the gear icon on the top right of the window to open environment options, and select Manage Environments.

2.Locate Habitat Environment, and click on the duplicate environment icon to create a base copy for your own environment.

- Click on the newly created Habitat Environment Copy. Update the environment name, host names and other variables such as language and currency if required.

4.Once done, switch to your new environment by selecting it from the top right of the window.

That’s it! Fire away- you’re now ready to get hands on with probably one of the most frequently used tools you’ll be using as you work with Sitecore Commerce!
Stay tuned and hit the follow button- in future posts I will show you how to create custom plugins and tell you all about Actions, Commands, and Pipelines.